
Photographing birds in flight can feel like chasing shadows—fast, fleeting, and frustrating. You’ve probably wrestled with blurry shots or missed focus just when the bird took flight. Getting the right BIF photography settings and mastering tracking techniques makes all the difference between a snapshot and a sharp, stunning image. Let’s break down how to capture those moments with clarity, from camera setup to anticipating bird behavior, so your next flight shot speaks volumes. Learn more about how to take effective birds in flight photos here.
Essential Camera Settings
Capturing birds in flight demands precise camera settings. Set up your camera correctly, and you’ll transform your shots from average to amazing.
BIF Photography Settings
To get started, adjust your camera to the ideal birds in flight photography settings. Use a fast shutter speed to freeze motion, typically above 1/2000th of a second. Set your ISO to auto to maintain exposure as lighting changes. Utilize aperture priority mode for depth of field control, especially with a telephoto lens. This combination helps you achieve sharp, detailed images without losing quality. Don’t forget to enable burst mode to capture multiple frames per second.
Finding the right balance between these elements may take practice, but each setting plays a crucial role in capturing dynamic images. The longer you experiment, the more you’ll understand how these settings interact.
Best Shutter Speed for Birds
A fast shutter speed is your best friend when photographing birds. Start with 1/2000th of a second and adjust as needed. This speed captures the swift movements of wings without blur. If the light is low, increase the ISO to maintain the shutter speed. In bright conditions, you can lower the ISO for better image quality.
Experiment with different speeds depending on the bird’s size and speed. Larger birds may require slightly slower speeds, but small, quick birds need a fast shutter to capture their rapid movements. Practice makes perfect, so test various settings to find what works best.
Autofocus Tracking Birds
Autofocus tracking is essential for sharp shots. Use continuous autofocus (AF-C) to keep moving subjects in focus. For best results, combine AF-C with zone AF, which allows you to track birds across the frame. Adjust your camera’s tracking sensitivity to match the bird’s speed and movement.
Consider back-button focus for more control. This technique separates focusing from the shutter button, providing better focus management. With practice, you’ll find that autofocus tracking becomes second nature, enabling you to capture those elusive moments with ease.
Mastering Technique
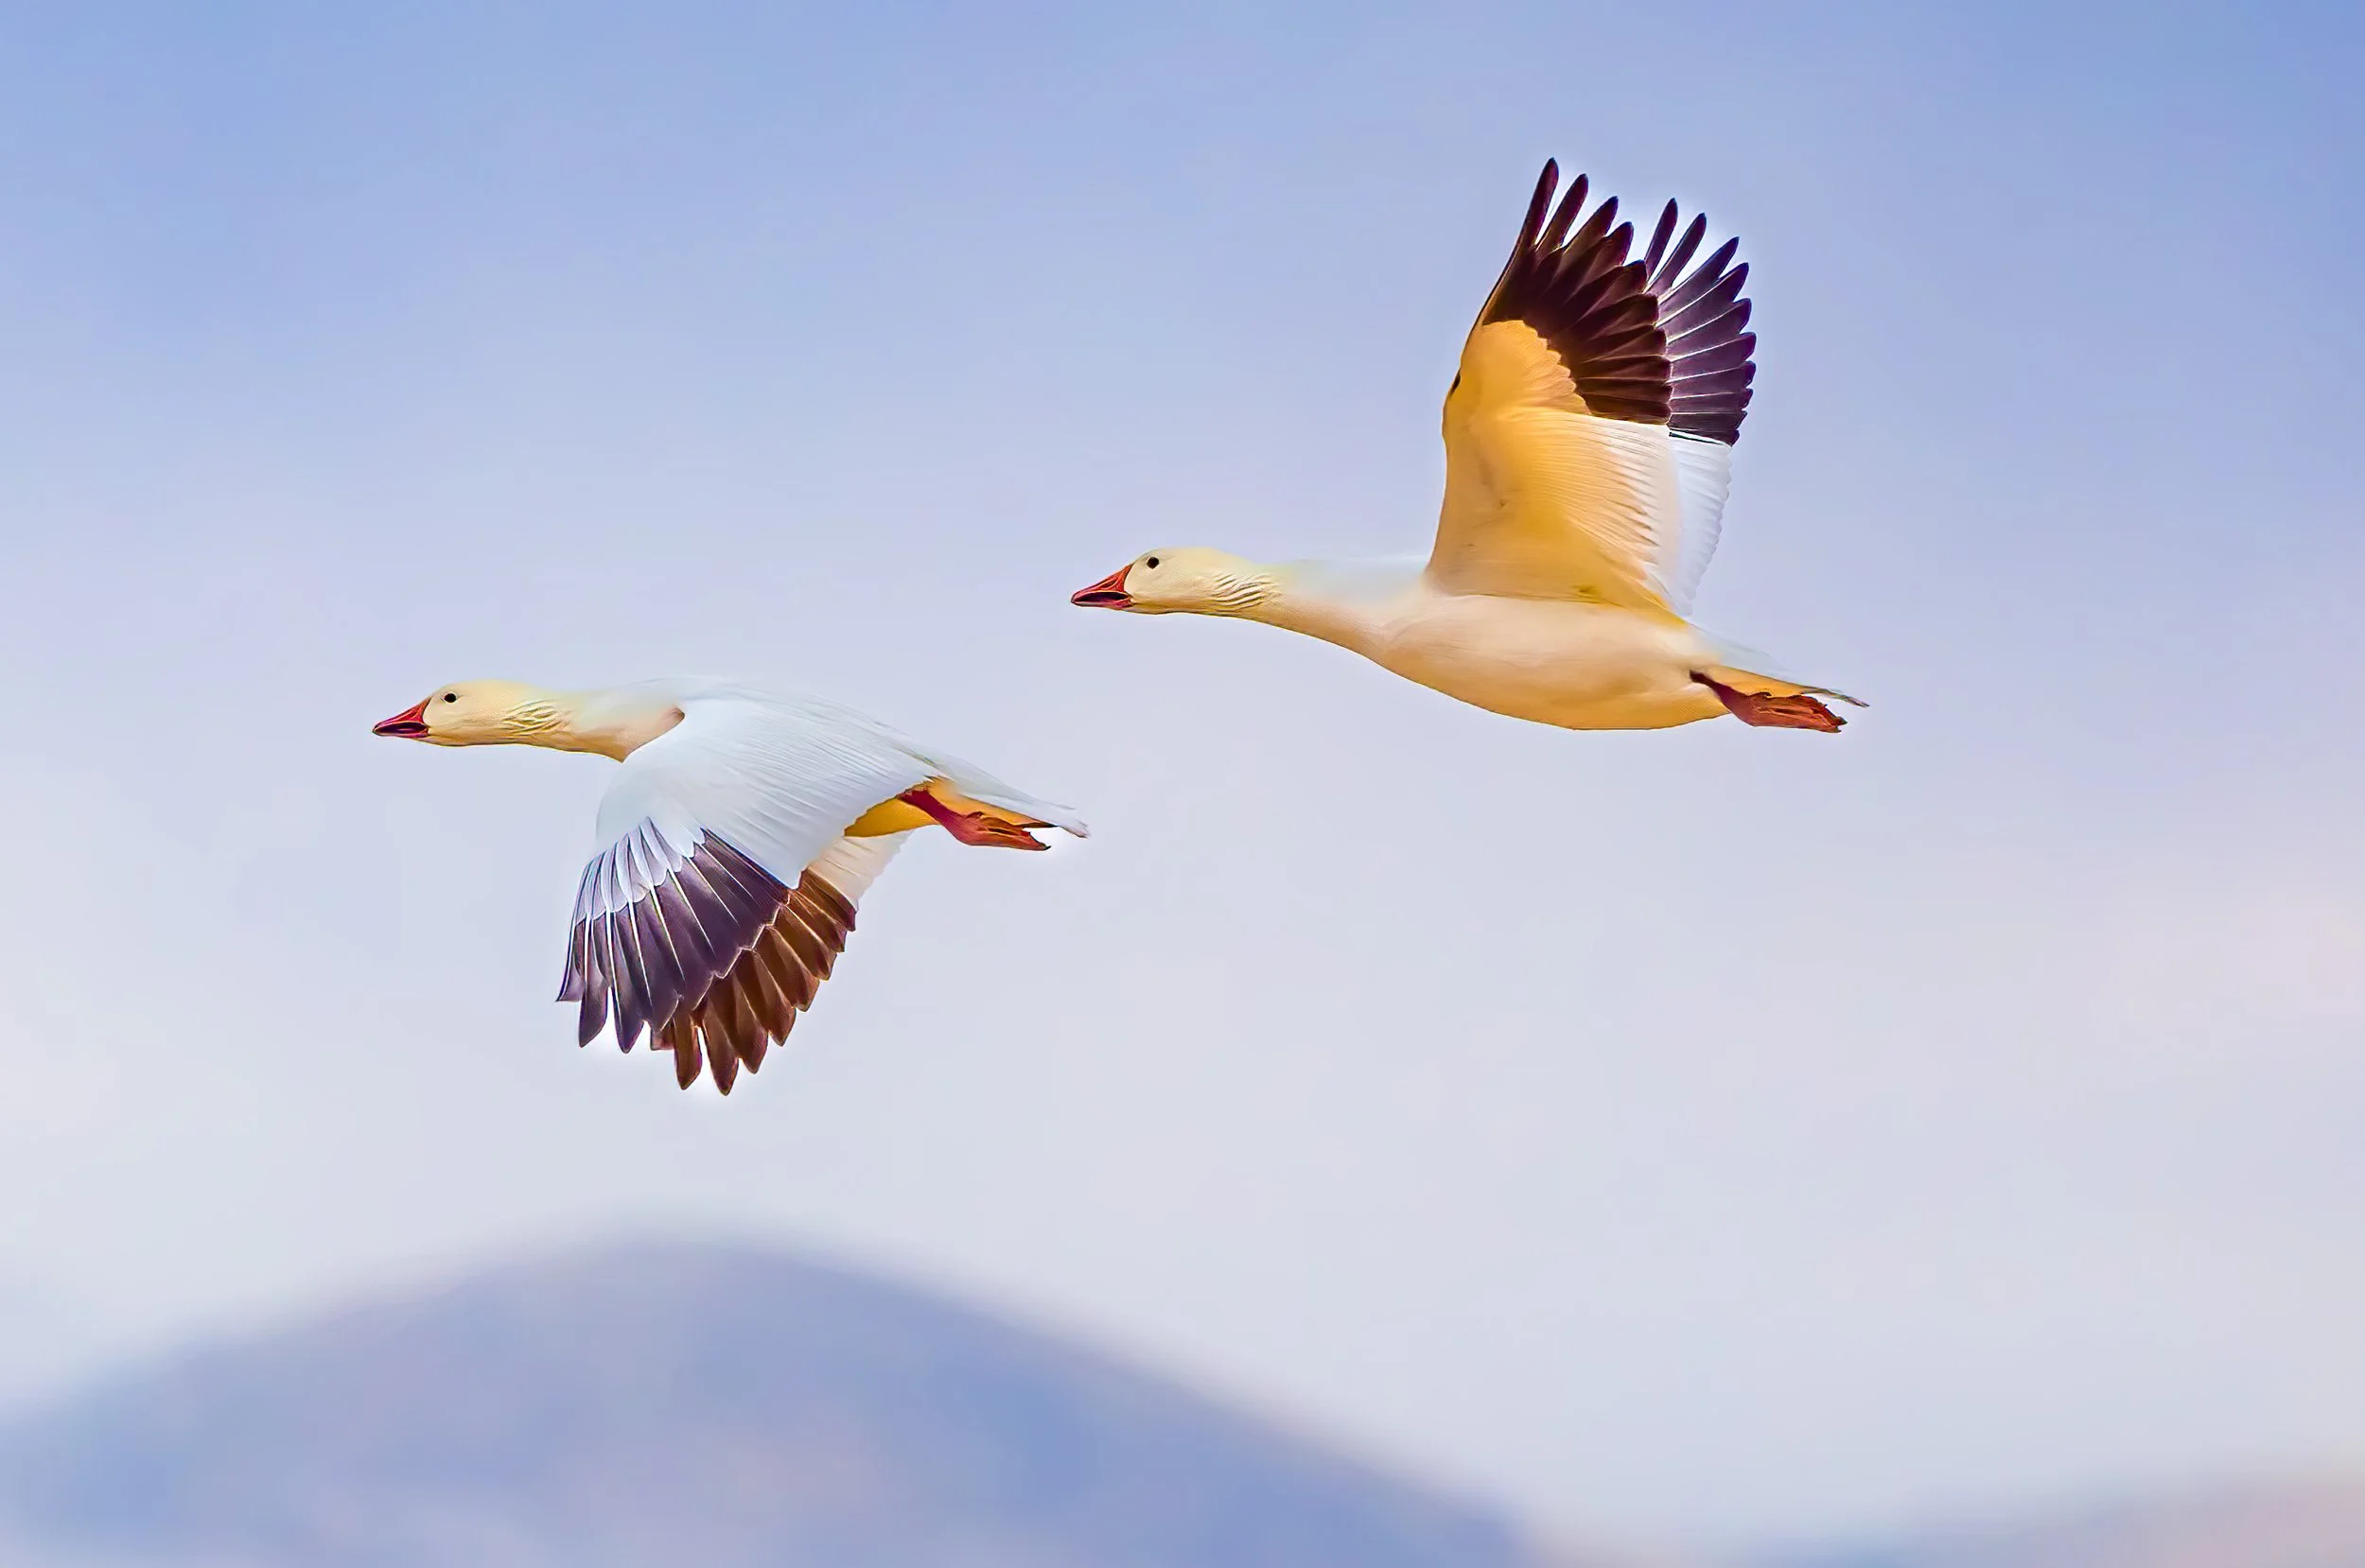
Now that your camera settings are dialed in, it’s time to refine your technique. Mastering these skills will elevate your bird photography to new heights.
Panning Technique Wildlife
Panning is a valuable skill for capturing birds in motion. The goal is to follow the bird smoothly with your camera while keeping it in focus. Start by selecting a bird in flight and moving your camera steadily in the same direction. Use a slower shutter speed, like 1/1000th of a second, to create a sense of motion while keeping the bird sharp.
Practice this technique with various subjects to improve your timing and coordination. As you refine your skills, you’ll notice a significant improvement in the quality of your action shots.
Continuous AF (AF-C) Birds
Continuous autofocus is crucial for tracking birds. It keeps your subject in focus as it moves across the frame. Engage AF-C mode and use a wide autofocus area to increase your chances of capturing sharp images. Pair this with a high frame rate burst mode to get multiple shots in quick succession.
As you become more comfortable with AF-C, experiment with different focus modes and settings to see what works best for your subjects and shooting style. This practice will make you more confident in capturing birds on the move.
Image Stabilization Panning
Image stabilization helps reduce camera shake, especially when panning. Many cameras and lenses offer stabilization modes tailored for panning. Enable this feature to achieve smoother, sharper images. If your camera or lens lacks this feature, practice steady hand movements to minimize blur.
With time and experience, you’ll learn to anticipate the bird’s movements and adjust your panning technique accordingly. Consistent practice will lead to more successful shots and greater confidence in your abilities.
Understanding Fieldcraft

Fieldcraft is the art of understanding the natural environment and bird behavior. This knowledge enhances your ability to capture stunning images.
Anticipating Bird Behavior
Knowing how birds behave helps you predict their actions. Observe their habits, such as feeding or flight patterns, to anticipate their movements. This insight allows you to be prepared for the perfect shot. Spend time watching birds before photographing them to learn their routines.
The more you understand bird behavior, the more opportunities you’ll have to capture unique moments. This awareness will improve your overall photography skills and increase your chances of success.
Wind Direction Photography
Wind direction plays a vital role in bird photography. Birds often take off and land against the wind, which can help you anticipate their movements. Position yourself accordingly to capture these moments. Being mindful of wind patterns ensures you capture birds from the best angles.
Practice observing wind direction and its impact on bird behavior. This knowledge will give you an edge in timing your shots and capturing incredible images.
Golden Hour Bird Photography
The golden hour is an ideal time for bird photography. The soft, warm light enhances colors and adds depth to your images. Plan your shoots during this time for the best results. Arrive early to scout the location and observe bird activity.
Take advantage of the golden hour to experiment with different compositions and lighting conditions. This practice will not only improve your skills but also result in breathtaking images that showcase the beauty of nature.
Frequently Asked Questions
What settings are best for photographing birds in flight?
Use a fast shutter speed of at least 1/2000th of a second, set your ISO to auto, and use aperture priority mode for depth of field control. These settings help capture sharp, detailed images of birds in flight.
How can I improve my panning technique?
To improve panning, practice following a moving subject with your camera, using a slower shutter speed to capture motion. Consistent practice will enhance your timing and coordination, resulting in better action shots.
Why is wind direction important in bird photography?
Wind direction affects bird behavior, as they often take off and land against the wind. Position yourself accordingly to capture birds from the best angles and improve your chances of capturing stunning images.
What is the best time of day for bird photography?
The golden hour, shortly after sunrise or before sunset, offers soft, warm light that enhances colors and adds depth to your images. Plan your shoots during this time for the best results.
How can I anticipate bird behavior for better shots?
Spend time observing birds to learn their habits, such as feeding or flight patterns. Understanding their behavior helps you predict their movements and be prepared for the perfect shot.
Comment “Safari” for details on my Tanzania Photo Safari in 2027
Leave a Reply